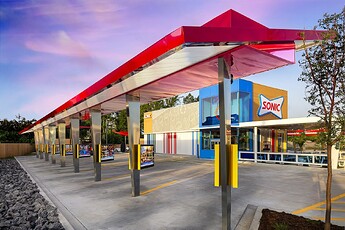
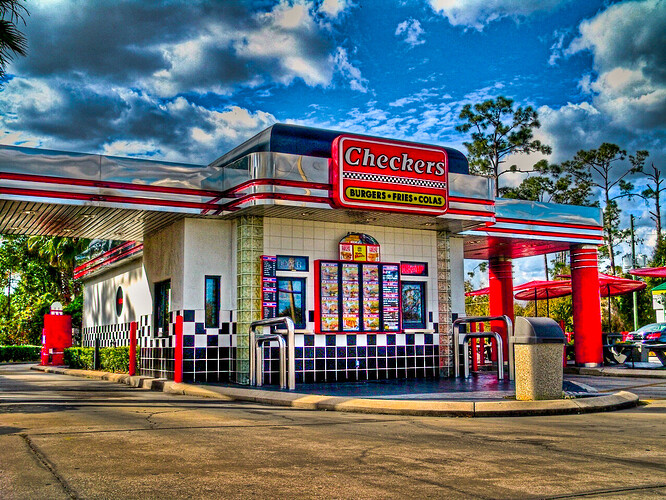
Fantastic. 
This info really helps around fast food restaurants or banks.
Personally, I just mark:
highway=serviceservice=drive-throughoneway=yes
From there, if there is some sort of awning (or height bar) in the drivethrough, you can add optional:
maxheight
- (OSM Wiki)
- (To be quick, I add
maxheight on the whole way.)
and I even add:
surface
- Sometimes the drivethroughs are
concrete instead of asphalt.
Clearance Bar
You can add a little node on the way with:
barrier=height_restrictor
Note: Put it exactly where the drive-through lane goes under the bar.
Flat-top Canopy + Awning
Personally, I don’t draw it as a separate thing. To be quick, I just have the awning drawn as part of the entire building.
As I’m drawing the drivethrough lane, I then do this:
1. Add 1 node right BEFORE the awning + 1 node right AFTER.
2. Attach the rest of the drivethrough like any other road.
3. Split the way.
In ID, you can do that by:
- Shift+Left-Click on the 2 nodes (before/after awning)
- Press
X.
- Or you can also Right-Click > Split
- (The icon looks like scissors.)
4. Then tag the little piece under the awning as:
5. Then, I:
- Mark the actual building as
layer=1
- since it will be “above” the little drivethrough road.
So you’ll ultimately have 3 separate drive-through pieces:
- Driving in to place your order.
- Going through and towards the pick-up window.
- Under the awning.
- Has
covered=yes, because it’s under a roof.
- Driving away.
- So this attaches back to the parking lot/aisle and leads you out.
Side Note 1: And for that little piece of road under the roof, make sure you use:
and not the accidental:
tunnel=building_passage
- This is for tunnels going through the middle of buildings.
That’s an extremely common error I see.
Side Note 2: While you are there, instead of having the generic building=yes…
You may also want to tag the actual building as:
building=retail
building=bank
This helps incrementally make the map a little better. 

